The Promised Light is the fruits of your Where Winds Meet experiences within the Qinghe area. You can’t full it till you’ve met some fairly particular necessities, nevertheless it’s one value doing. All of the aspect quest chapters within the Qinghe area had been attention-grabbing, however this one is not going to solely wrap up the area for you, but additionally unlock one of many tougher boss fights you’ll be able to deal with within the Campaign mode.
We suggest additionally doing the opposite aspect quest chapters first, to unlock quite a lot of helpful powers, however extra importantly, Exploration Points, that are one of many laborious necessities for unlocking The Promised Light in Where Winds Meet.
Complete The Promised Light walkthrough in Where Winds Meet
In order to even start The Promised Light in Where Winds Meet you’ll want to converse to the Wayfarer in Sundara Land, in addition to attain 6,000 Exploration Points within the Qinghe area. Without these you can not even start the hunt, a lot much less see its identify.
In addition, you’re additionally going to want to finish each the Palace of Annals and Bodhi Sea marketing campaign quests, as a result of they gives you the 2 halves of the Light Jade you’ll want to unravel one of many puzzles. Once you’ve met these necessities, you’ll be able to monitor the hunt in your Journal.
Steps to finish The Promised Light
- Place the Buddha’s Light Jade atop the Buddha’s Light Pagoda, Seek the Secrets of Buddha’s Light Pagoda, Explore the Space Beneath the Pagoda.
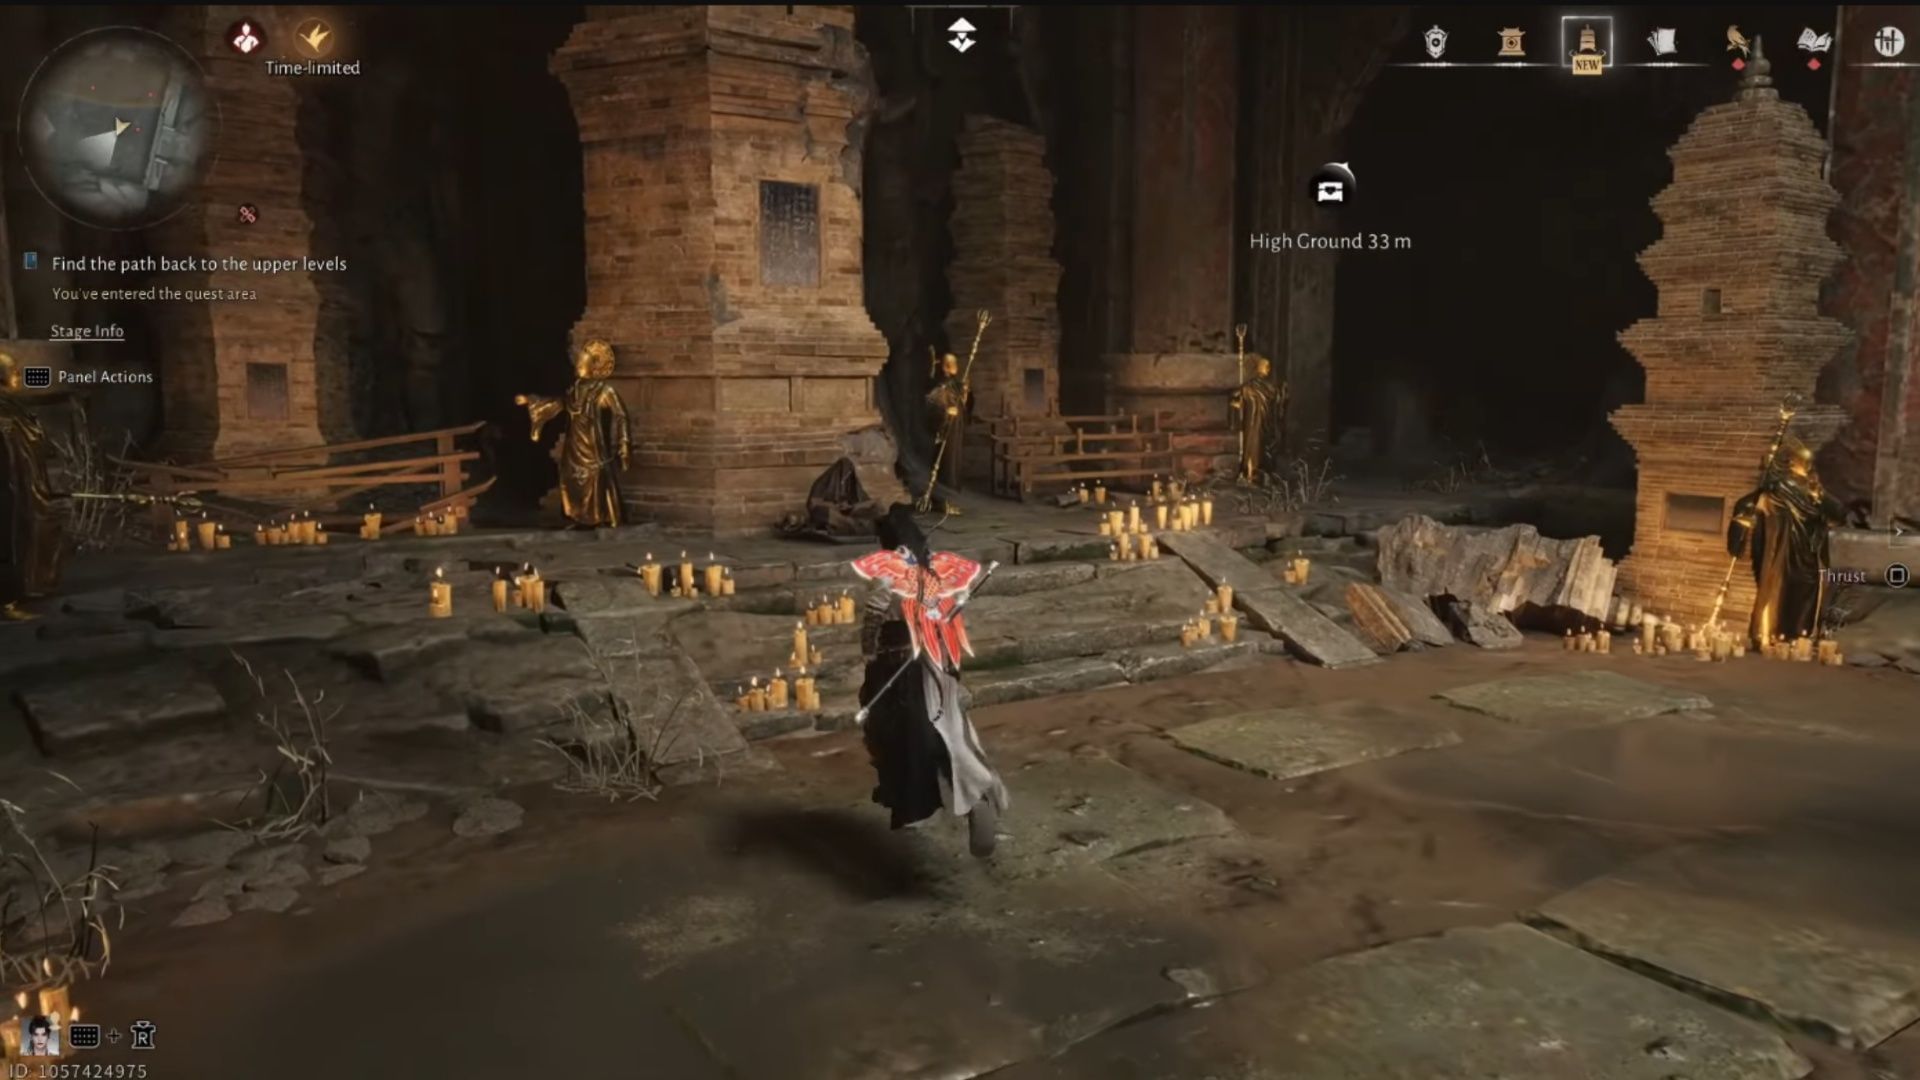
- Decipher the Bronze Mirror Contraption, Delve Deeper into the Cavern, Find the trail again to the higher ranges.
- Traverse the Mural Corridor, Proceed swiftly, Escape the collapsing platform, Descend into the depths of the cavern, Venture into the Deepest Reaches of the Buddha Grotto.
- Defeat Tian Ying
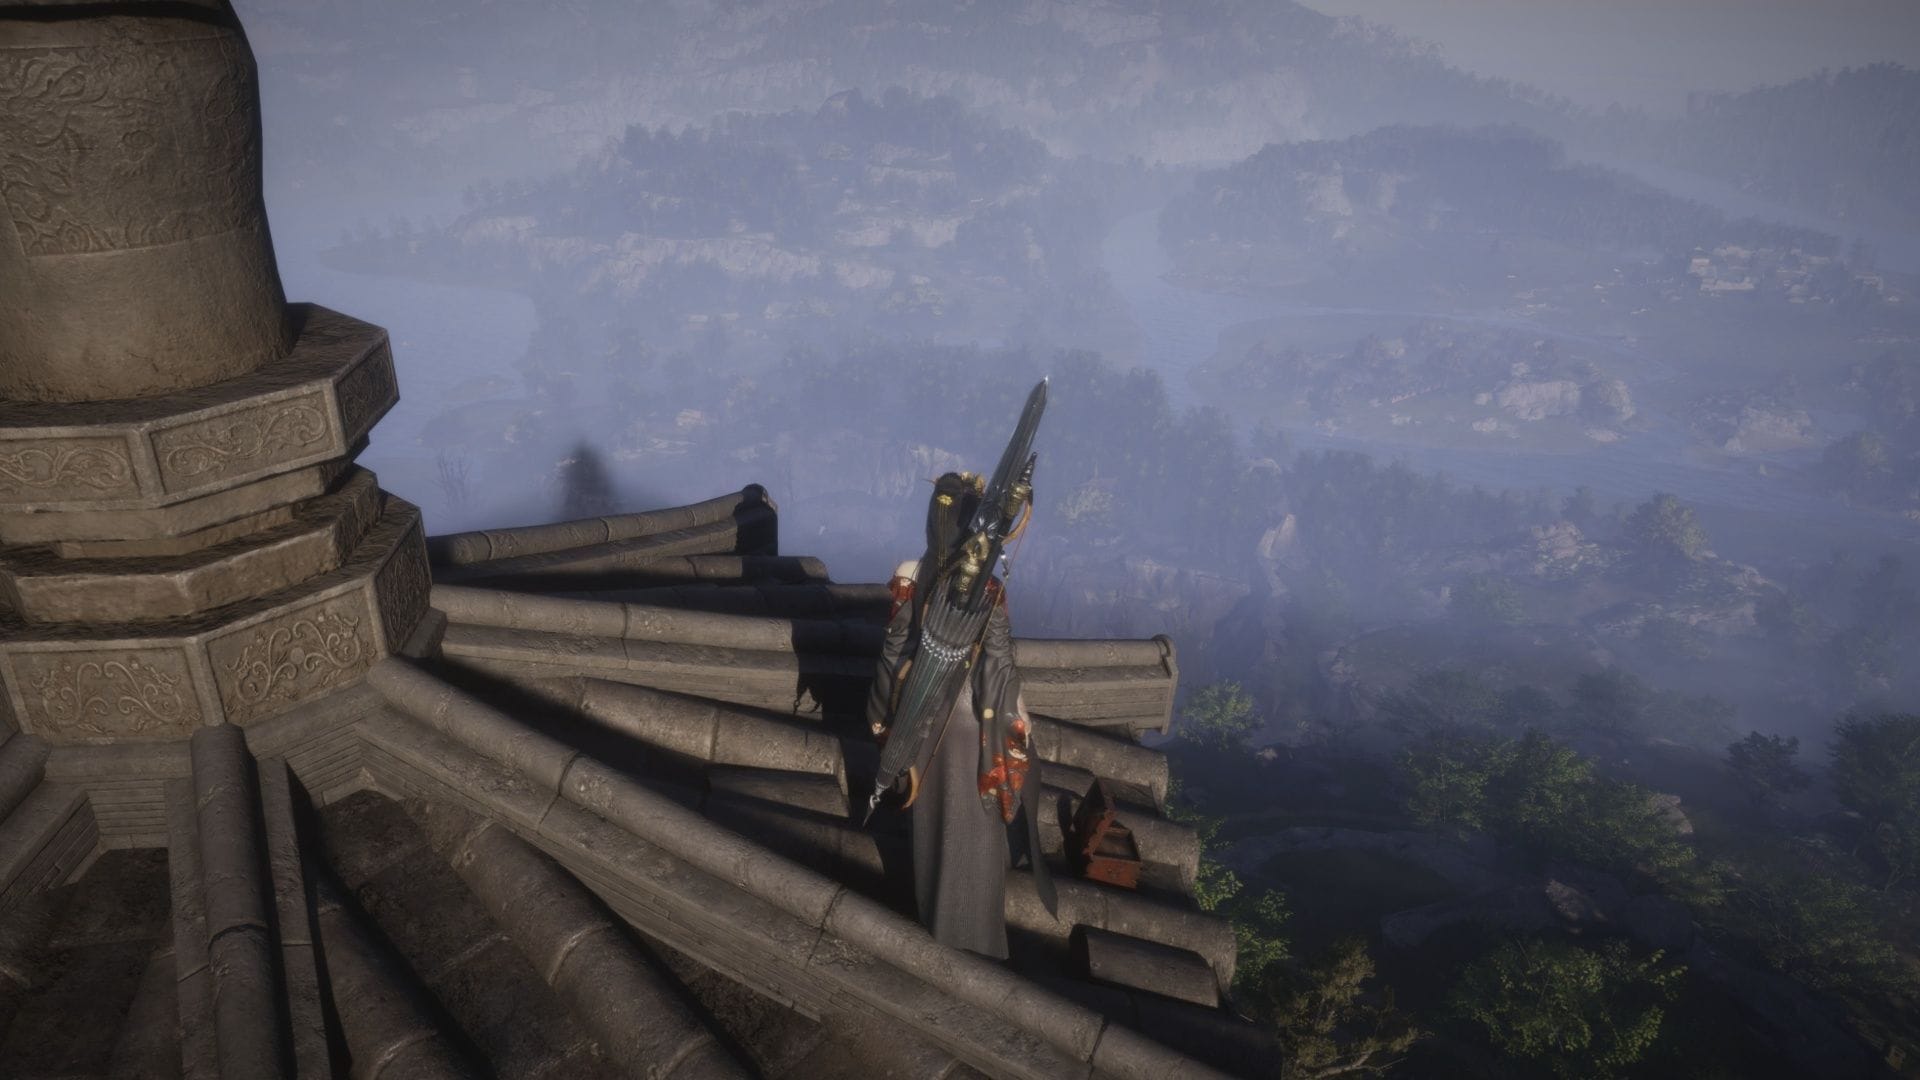
1) Place the Buddha’s Light Jade atop the Buddha’s Light Pagoda, Explore the Space Beneath the Pagoda
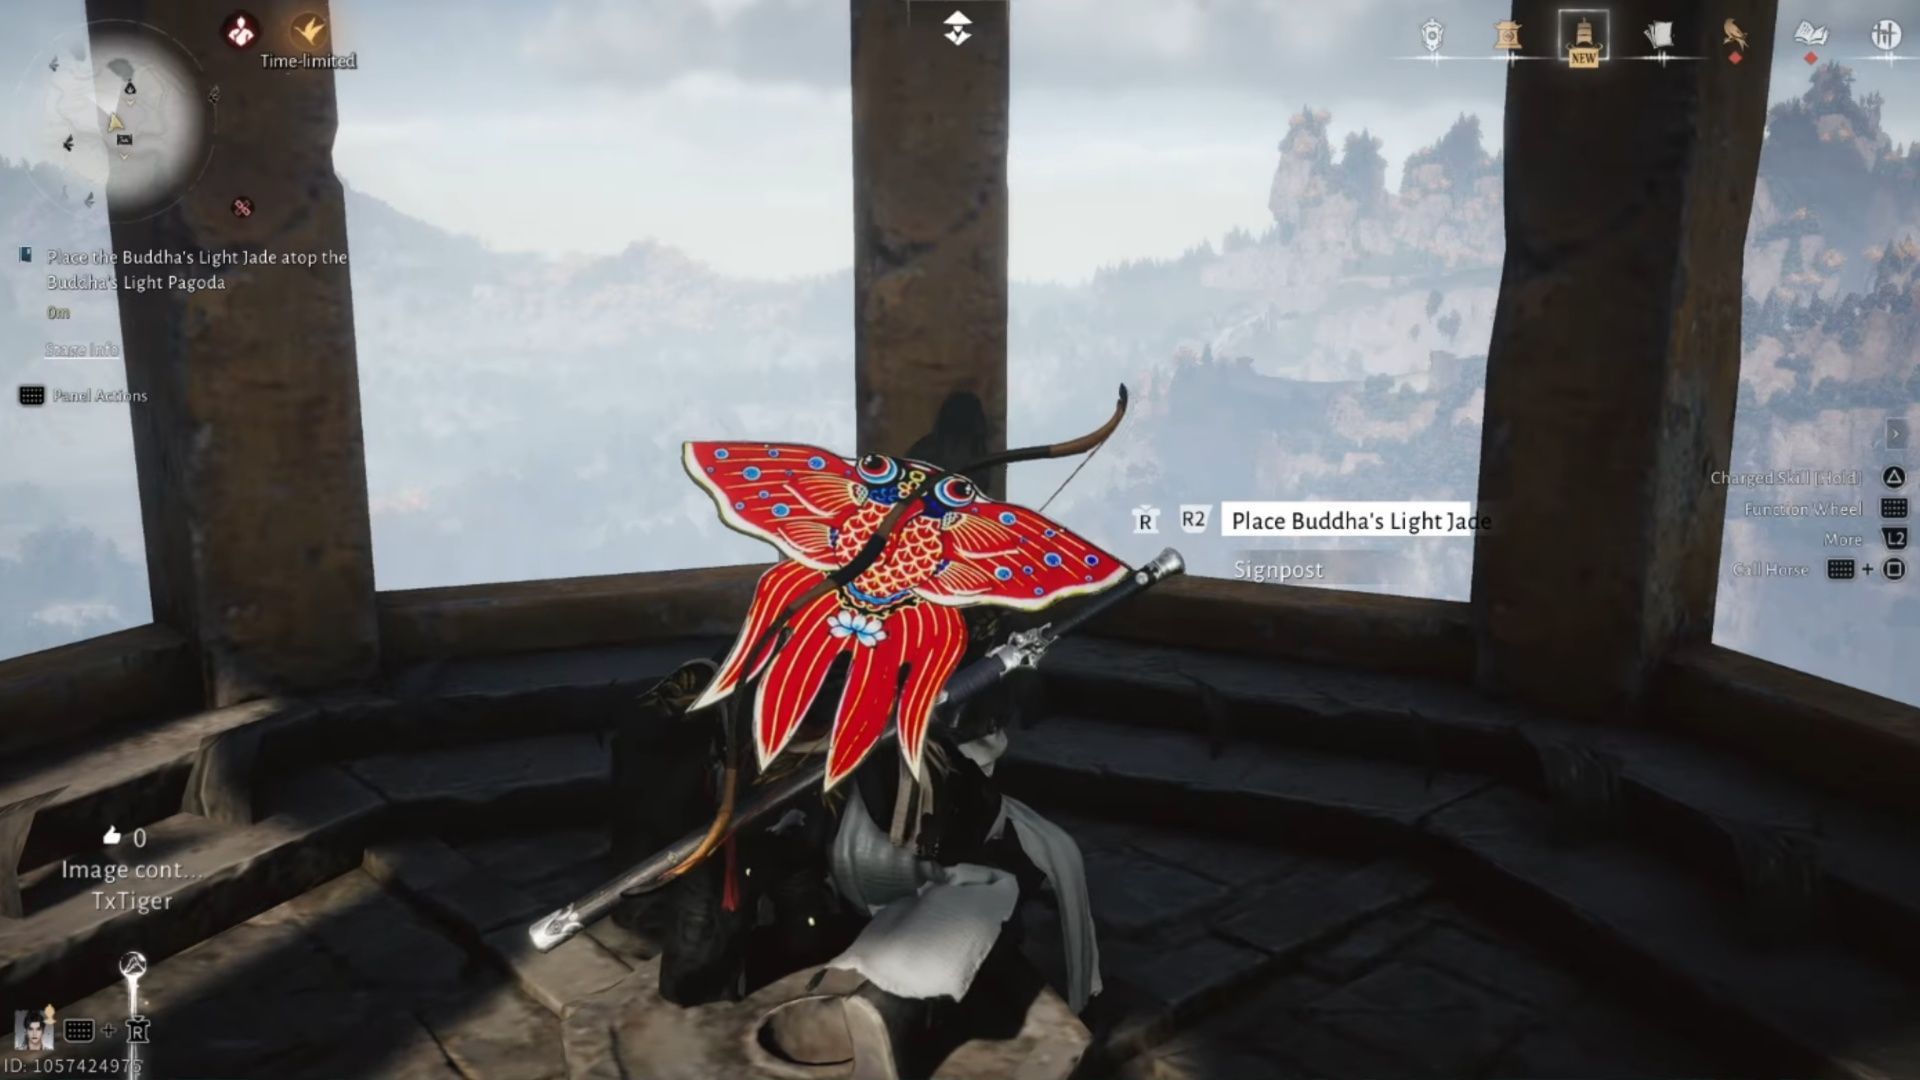
When you’re prepared to start The Promised Light in Where Winds Meet, go to the Buddha’s Light Pagoda, and both by climbing, or with flight, make your method to the highest and place the Buddha’s Light Jade atop the Buddha’s Light Pagoda. This will open the door, and allow you to truly enter the Buddha’s Light Pagoda that has, till now, been locked.
Drop down and go inside, and there shall be a lever you’ll be able to pull within the first room, that can open a passageway so that you can proceed. Grab the treasures and numerous collectibles within the subsequent room, after which check out the Buddha statue within the room. Equip Meridian Touch, and you can begin fixing the puzzle.
Activate Wind Sense and take a look at the statue. You ought to see the power to flip it Clockwise or Counter Clockwise. Rotate the sunshine so it factors proper on the door, and it’ll open so you’ll be able to proceed. This was the simple a part of the puzzles, although. The subsequent room in Where Winds Meet’s The Promised Light has a a lot larger gentle puzzle.
2) Decipher the Bronze Mirror Contraption, Delve Deeper into the Cavern, Find the trail again to the higher ranges
Unfortunately, my footage from the Early Access interval was corrupted and I misplaced the steps to finish this puzzle. GuidingLight’s video, embedded beneath, shall be there till we are able to recreate our footage on the principle servers, the place we’ll replace accordingly.

Once you’ve rotated the mirrors so the sunshine hits the correct location for this a part of Where Winds Meet’s The Promising Light quest, you’ll be able to proceed via the open pathway forward. When you enter the following room, the bottom will crumble below you, and also you’ll drop deeper into the cavern. Investigate the person sitting in entrance of the pillar, and also you’ll obtain a letter, and set off a struggle.
You can’t deal injury to the mechanical puppets that spawn. You need to defeat these enemies by parrying them, so simply preserve parrying till you’ve bested them. Hopefully, you’ve been working towards, however for those who’re on Story Difficulty, it gained’t be that taxing. Defeat them, and head again up the trail, and after you push the door open, you’ll discover a fork within the street.
Go proper first, to seize a treasure chest, then take the left fork to proceed to the following a part of this Where Winds Meet’s aspect quest. That path can have three extra mechanical puppets that have to be parried, so patiently parry them and watch for them to crumble.
3) Traverse the Mural Corridor, Proceed swiftly, Escape the collapsing platform, Descend into the depths of the cavern, Venture into the Deepest Reaches of the Buddha Grotto.
Push the door open and proceed for the ultimate size of The Promised Light in Where Winds Meet. You’ll discover a aspect path alongside the Mural Corridor, the place you’ll be able to full a little bit leaping puzzle to safe a treasure chest.
In this hallway, you’ll see a buddhist mantra painted alongside the wall that you would be able to examine, so make certain to do this. When you run to the tip of this hall, you’ll additionally set off a cutscene. After that ends, take the trail all the way down to the suitable, leaping on and over the statue’s hand, and go down the primary alternate path to get one other treasure chest. Then return to the principle path.
You’ll need to stroll alongside plank paths and ropes, heading deeper down into this Where Winds Meet dungeon. On the second rope, you’ll be able to look all the way down to see a treasure chest. Drop down for it for those who’d like, then preserve following that rope again up. It will lead you to a different plank to stroll to.
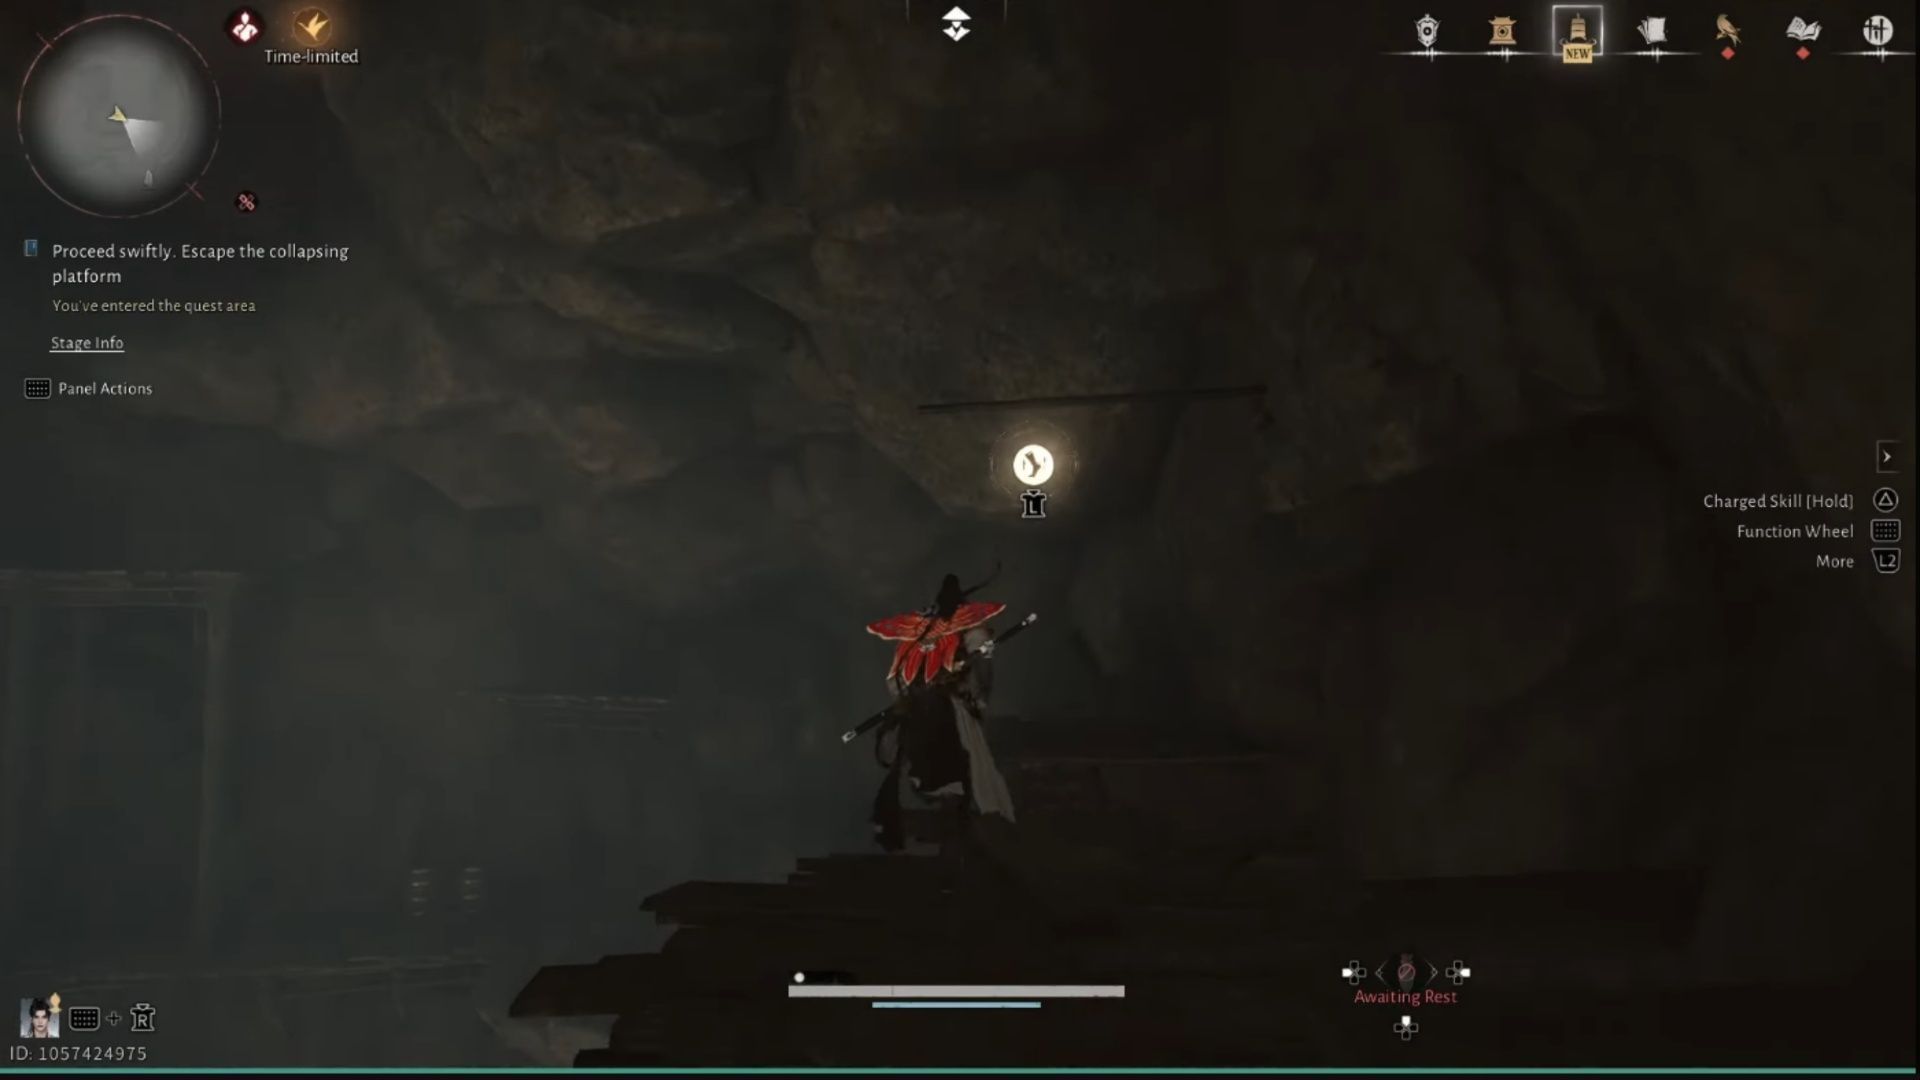
Everything’s high-quality till you attain the purpose the place the bottom begins crumbling. Move quick, and use the particular motion buttons that pop up in time, so that you don’t fall to your doom. Now, you’ll want to descend to the depths of the cavern. On the bottom you’ll see one remaining gentle puzzle. Click on the Boundary Stone first, although.
Rotate the mirror Counter Clockwise till it hits the door forward, and go via. From right here you enterprise into the Deepest Reaches of the Buddha Grotto, and prepare for a boss struggle.
4) Defeat Tian Ying
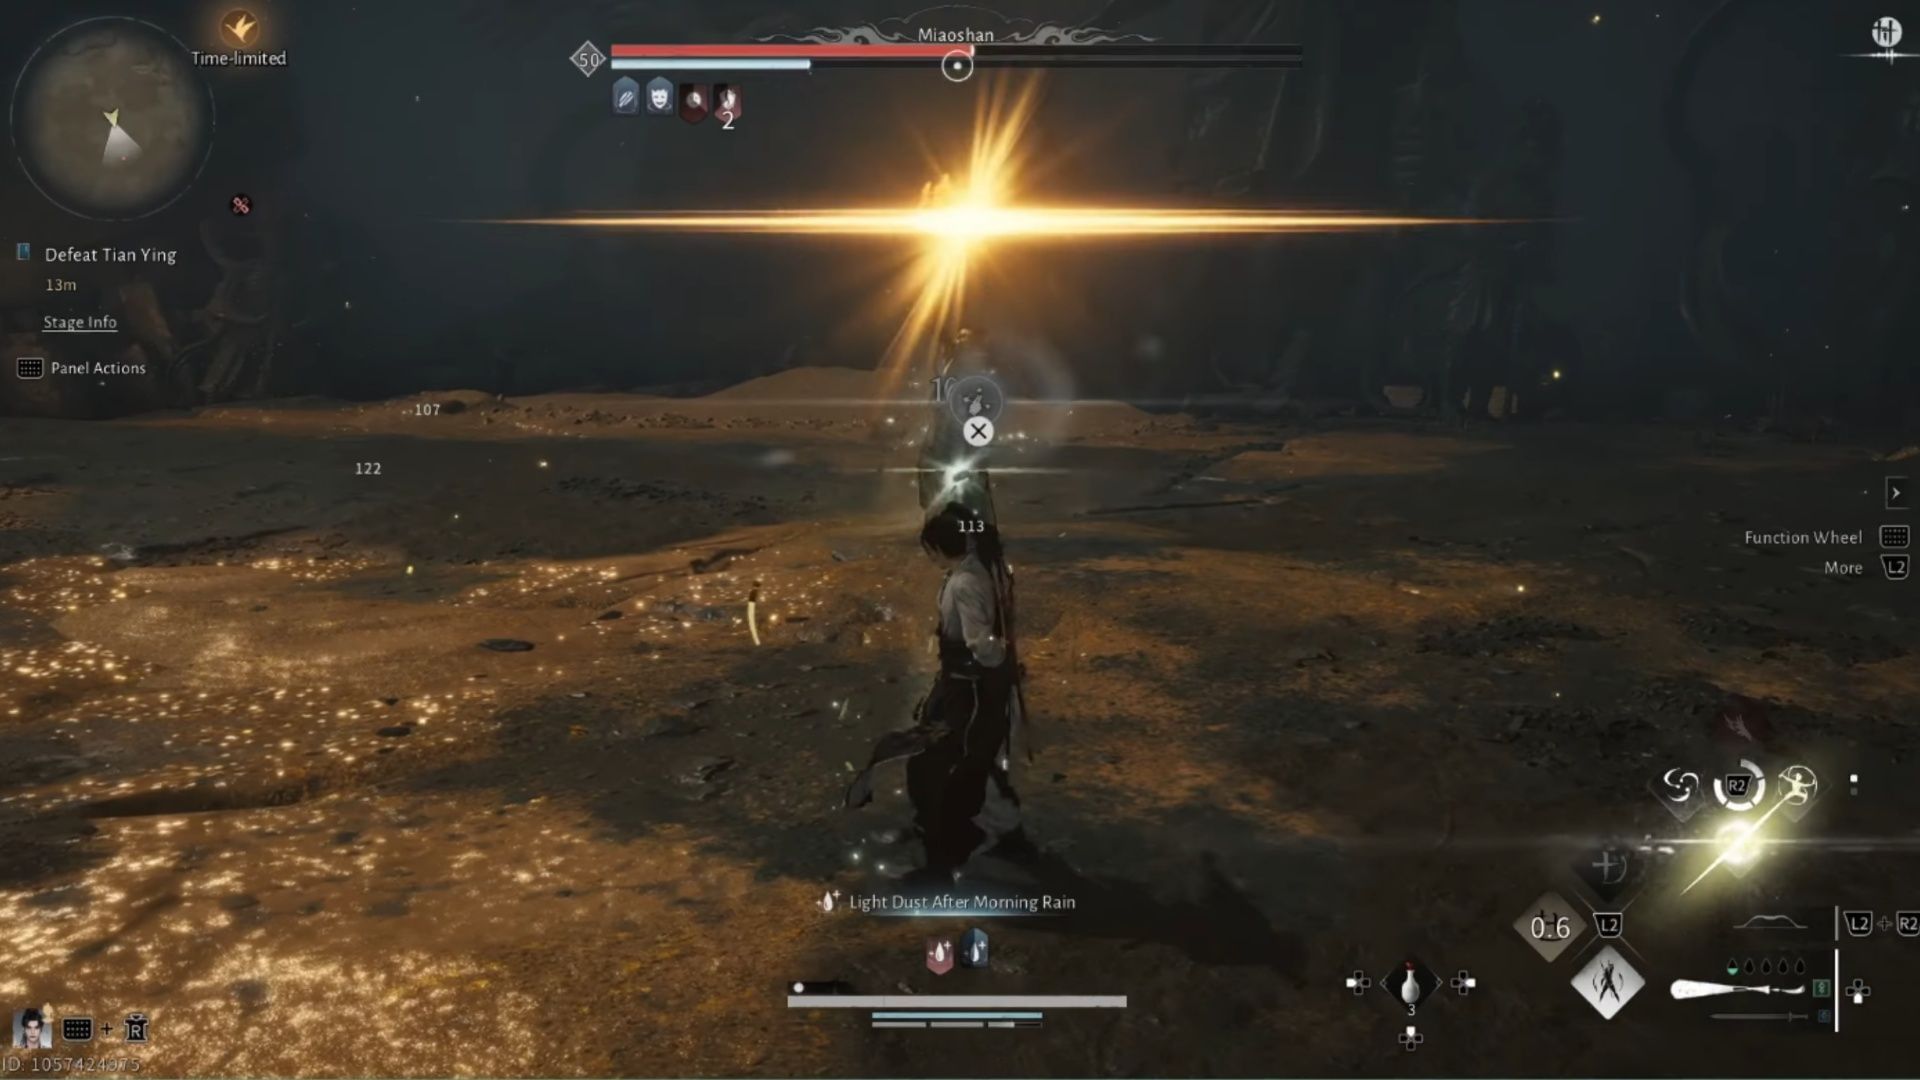
Make certain you work together with the Hero’s Tomb earlier than starting this struggle. Tian Ying’s is probably going going to be the toughest boss you’ve confronted up to now in Where Winds Meet up to now. Leave Meridian Touch outfitted so you’ll be able to nullify his shockwave assault.
If it’s nonetheless on cooldown when he does it once more, simply get out of the way in which as quickly as his employees begins glowing, to keep away from taking an unimaginable quantity of harm. Phase 2, he’ll use a Buddha statue to assault you, which inflicts a lot of painful AOE strikes.
Keep to the aspect of the battle area, as that is the boss’s blind spot on this section. If you’re utilizing the Vernal Umbrella, you’ve a bonus (or another ranged weapon), as a result of you’ll be able to consistently hit him whereas being comparatively protected from hurt. Then in Phase 3, he summons clones to assist him struggle.
Ignore these when Tian Ying is on display and parry him as an alternative. Parrying will nullify the clones, making this section a lot simpler. When you’ve completed this, escape the cave, and you should have formally wrapped up the aspect quests for Qinghe. You will obtain:
- Zhou Coin x17,000
- Character EXP x17,000
- Enlightenment Points x100
- Qinghe Exploration x80
- Echo Jade x84
- Level 1 Ebon Iron x4
- Medicinal Tales x1
- Yaksha Rush
Check out our different Where Winds Meet guides and options
Are you caught on right this moment’s Wordle? Our Wordle Solver will enable you discover the reply.
Edited by Jason Parker
Source link
#Winds #Meet #walkthrough #full #Promised #Light